You may have noticed that the photos I use in the blog are not always as good as those of the pens on the sales site. There is a reason for that and it isn’t entirely my laziness – though doubtless that plays a part!
When I’m photographing ten or a dozen pens at a time it makes sense to set up the light box and lights but that takes some time and effort and it really isn’t practical to do it for three or four shots of a single pen to accompany a blog article. They have to take their chance on a windowsill with the best light I can obtain on the day. There are, of course, various dodges I can apply with the camera and with software to ensure that you get some idea of the pen I’m writing about.
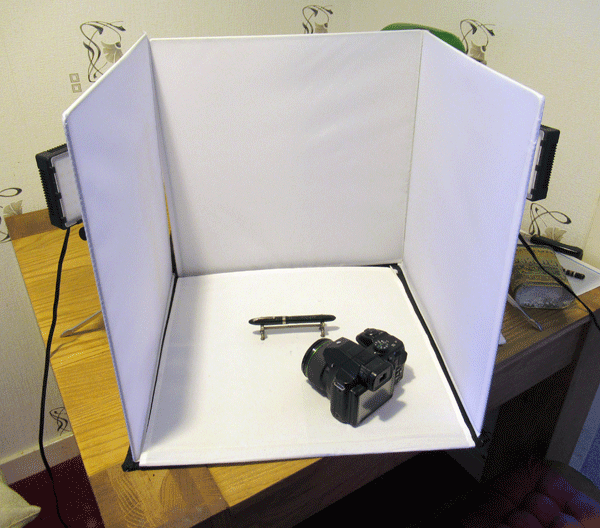
My previous light box setup was with two lights on tall tripods. It worked very well until it no longer did, because one of the lamps fell and broke the bulb. It was only then I discovered the bulb could not be replaced. I tried to find a whole lamp unit that would fit on the tripod but no go. Very annoying. I’m left with one good light and a tripod too good to throw away.
In the end I bought two table lights. These are quite powerful 60 LED lamps that light the setup quite well. They sit on extensible tripods, not the best idea in the world as the tripod legs prevent the lamp getting close to the light box. I may stop using the tripods and mount the lamps on small blocks instead.
So that’s the story. Continuing good photos on the sales site, I hope, and, as always, the best I can do on the blog.

You can also use two flexible LED strip lights place as two arches crossing at right angles to provide all round light.
Many thanks, David.